Photography
What Makes a Demolition or Scaffolding Site Photograph Well
Not every site photo is worth posting. The difference usually comes down to three things: angle, timing and what's actually in frame.
Shoot the before‑and‑after as one pair, not two separate photos
The single most effective piece of content on a demolition or scaffolding job is a genuine
before-and-after, shot from the exact same position and angle both times. It sounds obvious, but it's
the detail most site photos get wrong: the "after" shot is taken from a slightly different spot, at a
different time of day, and the comparison loses most of its impact. Marking the original camera
position, even roughly, and returning to it for the final shot makes the difference immediately
obvious rather than something the viewer has to work out.
Angle: wide enough for context, close enough for scale
A site shot from directly across the street shows the whole structure but loses the sense of scale.
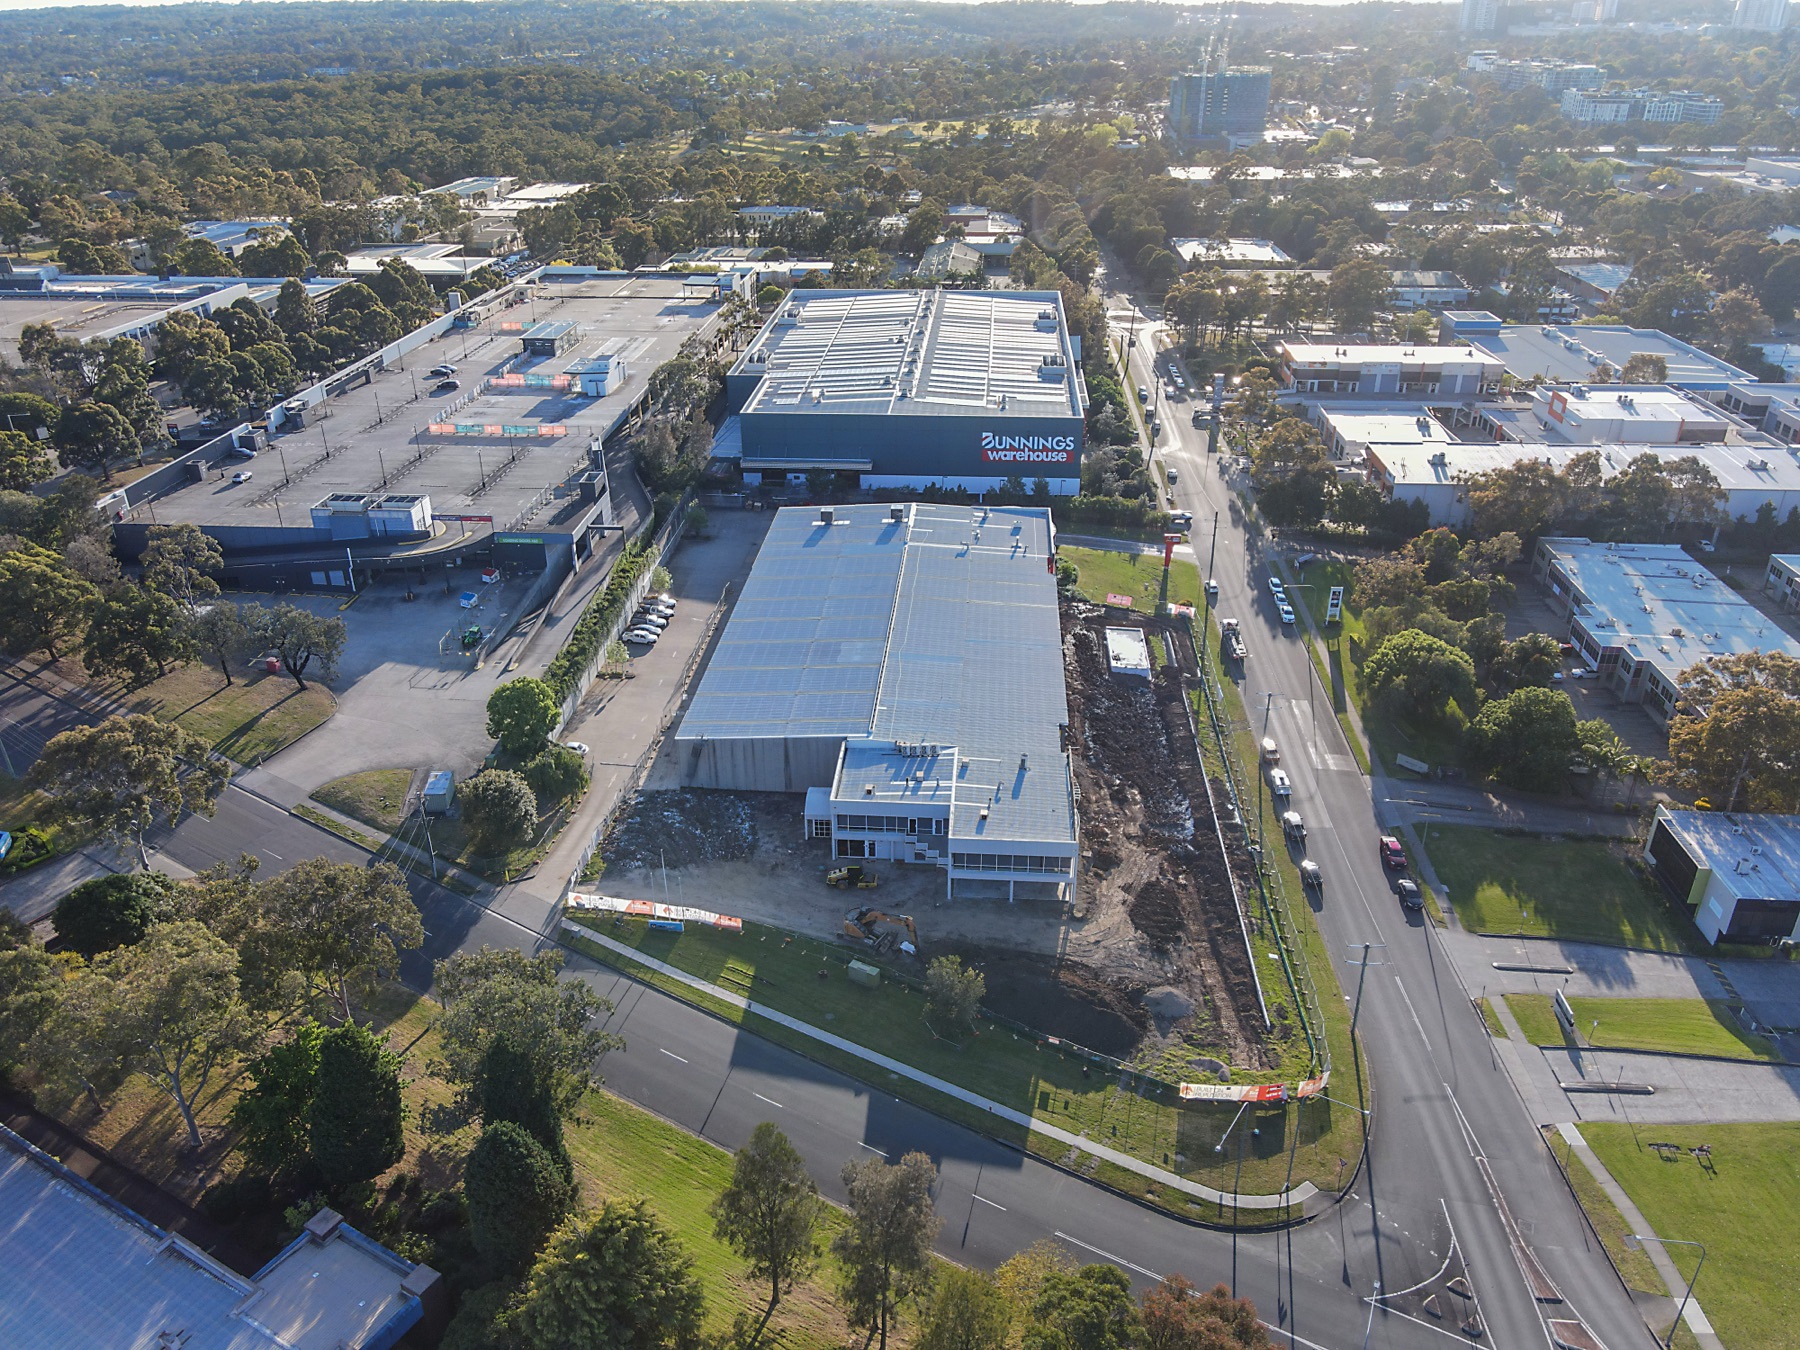
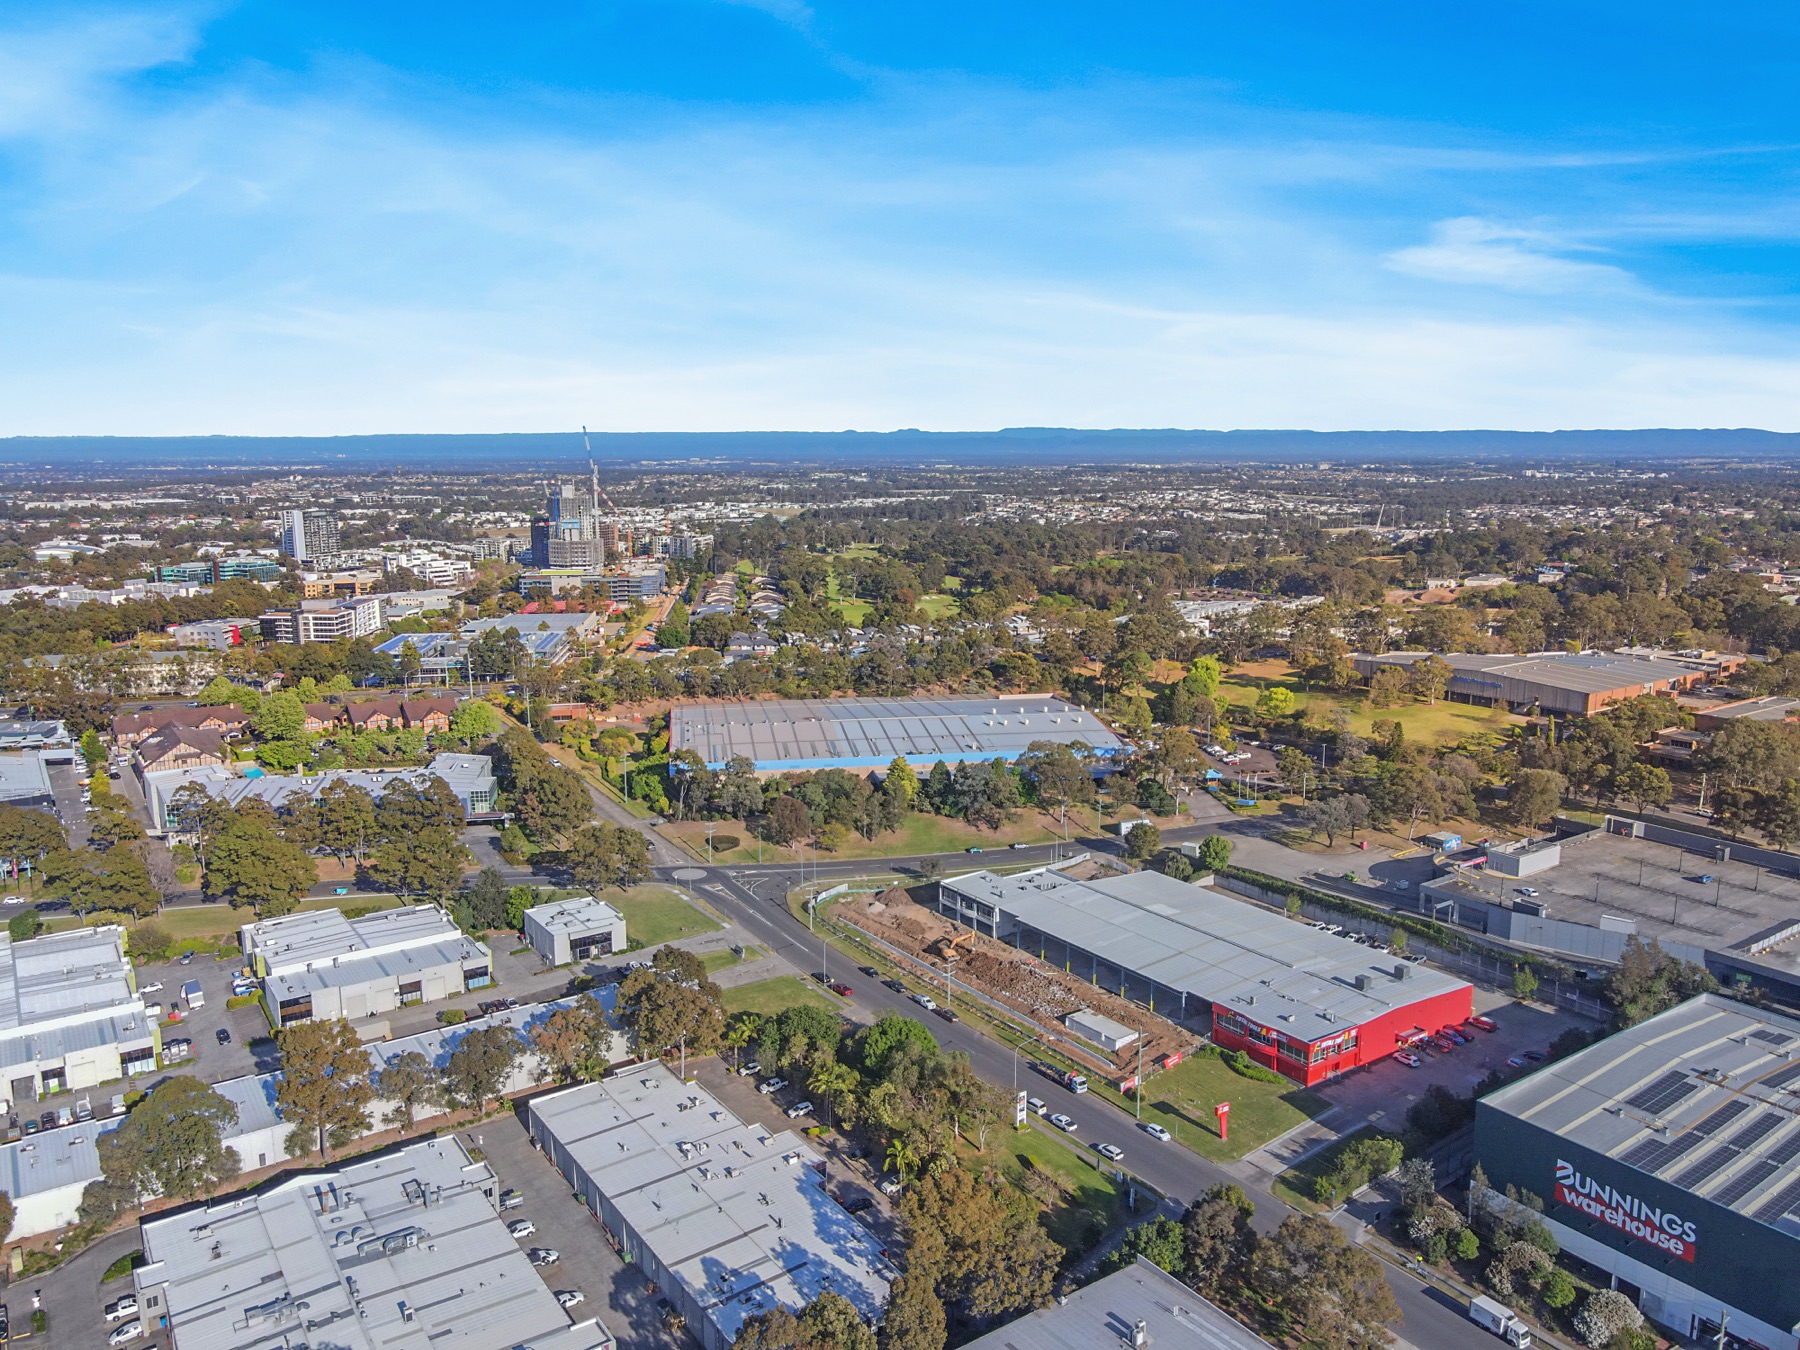
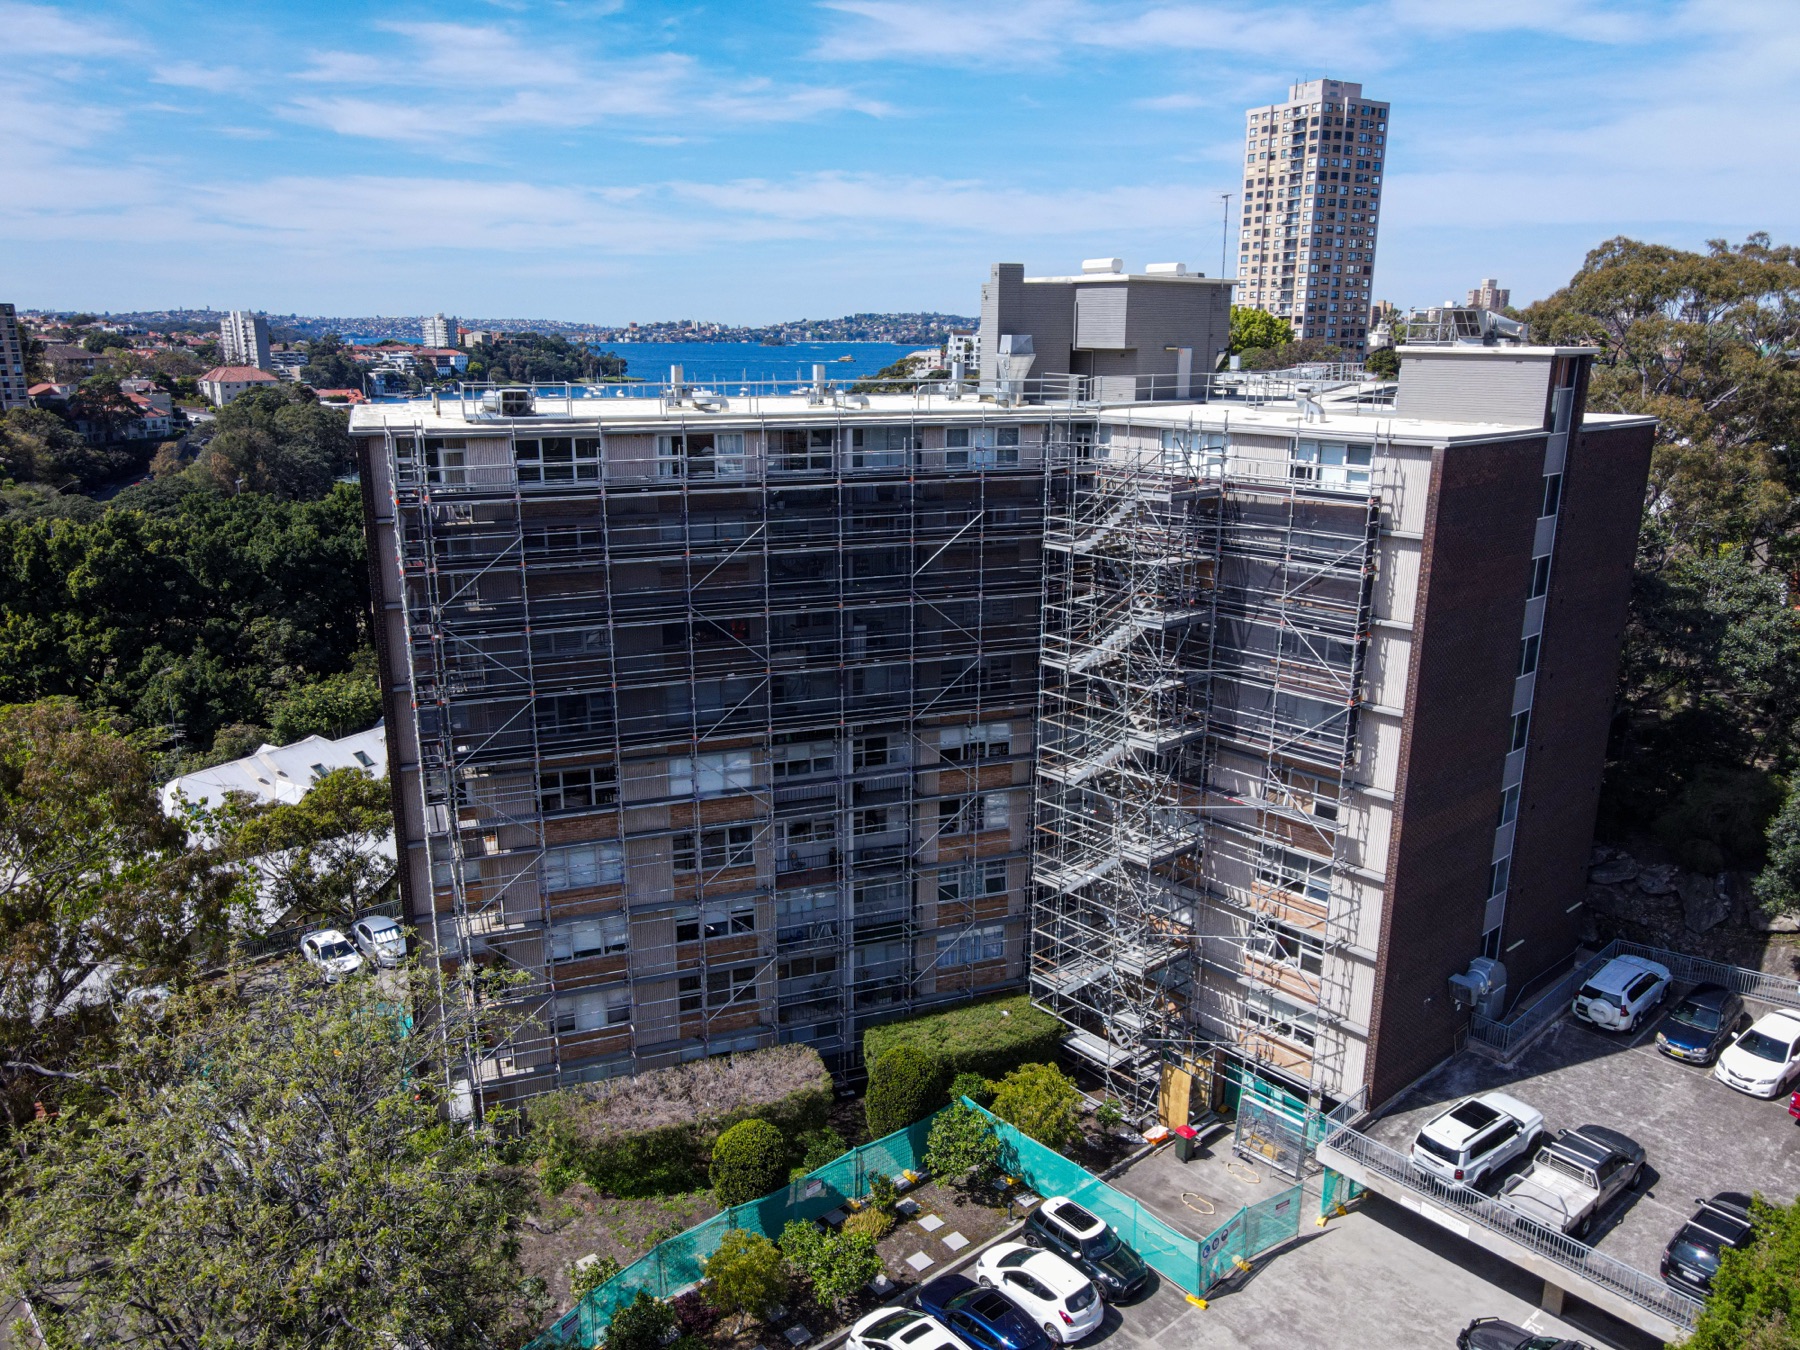
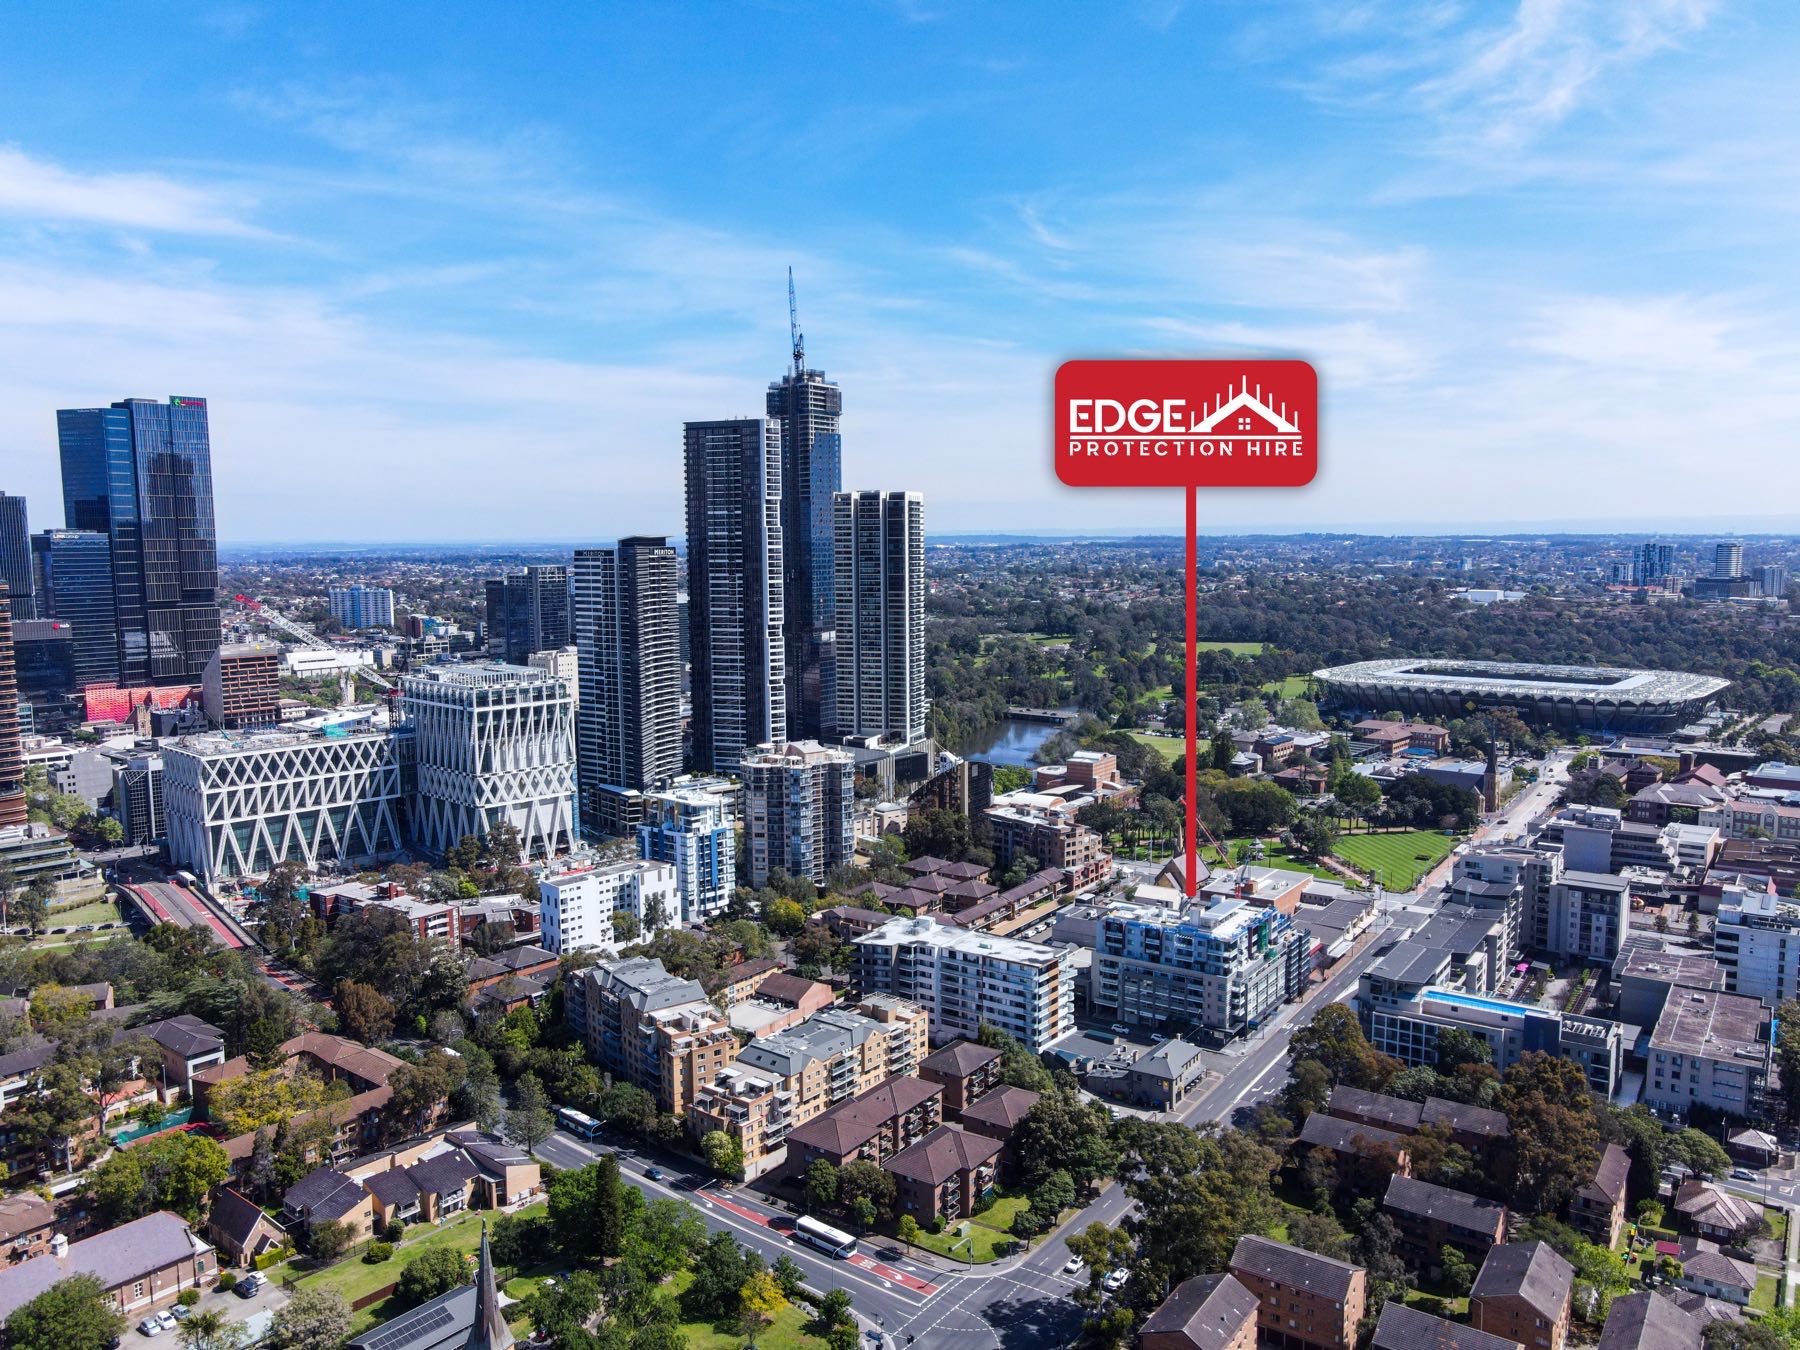
A shot from slightly below, angled up, exaggerates height and makes a scaffold or a demolition site
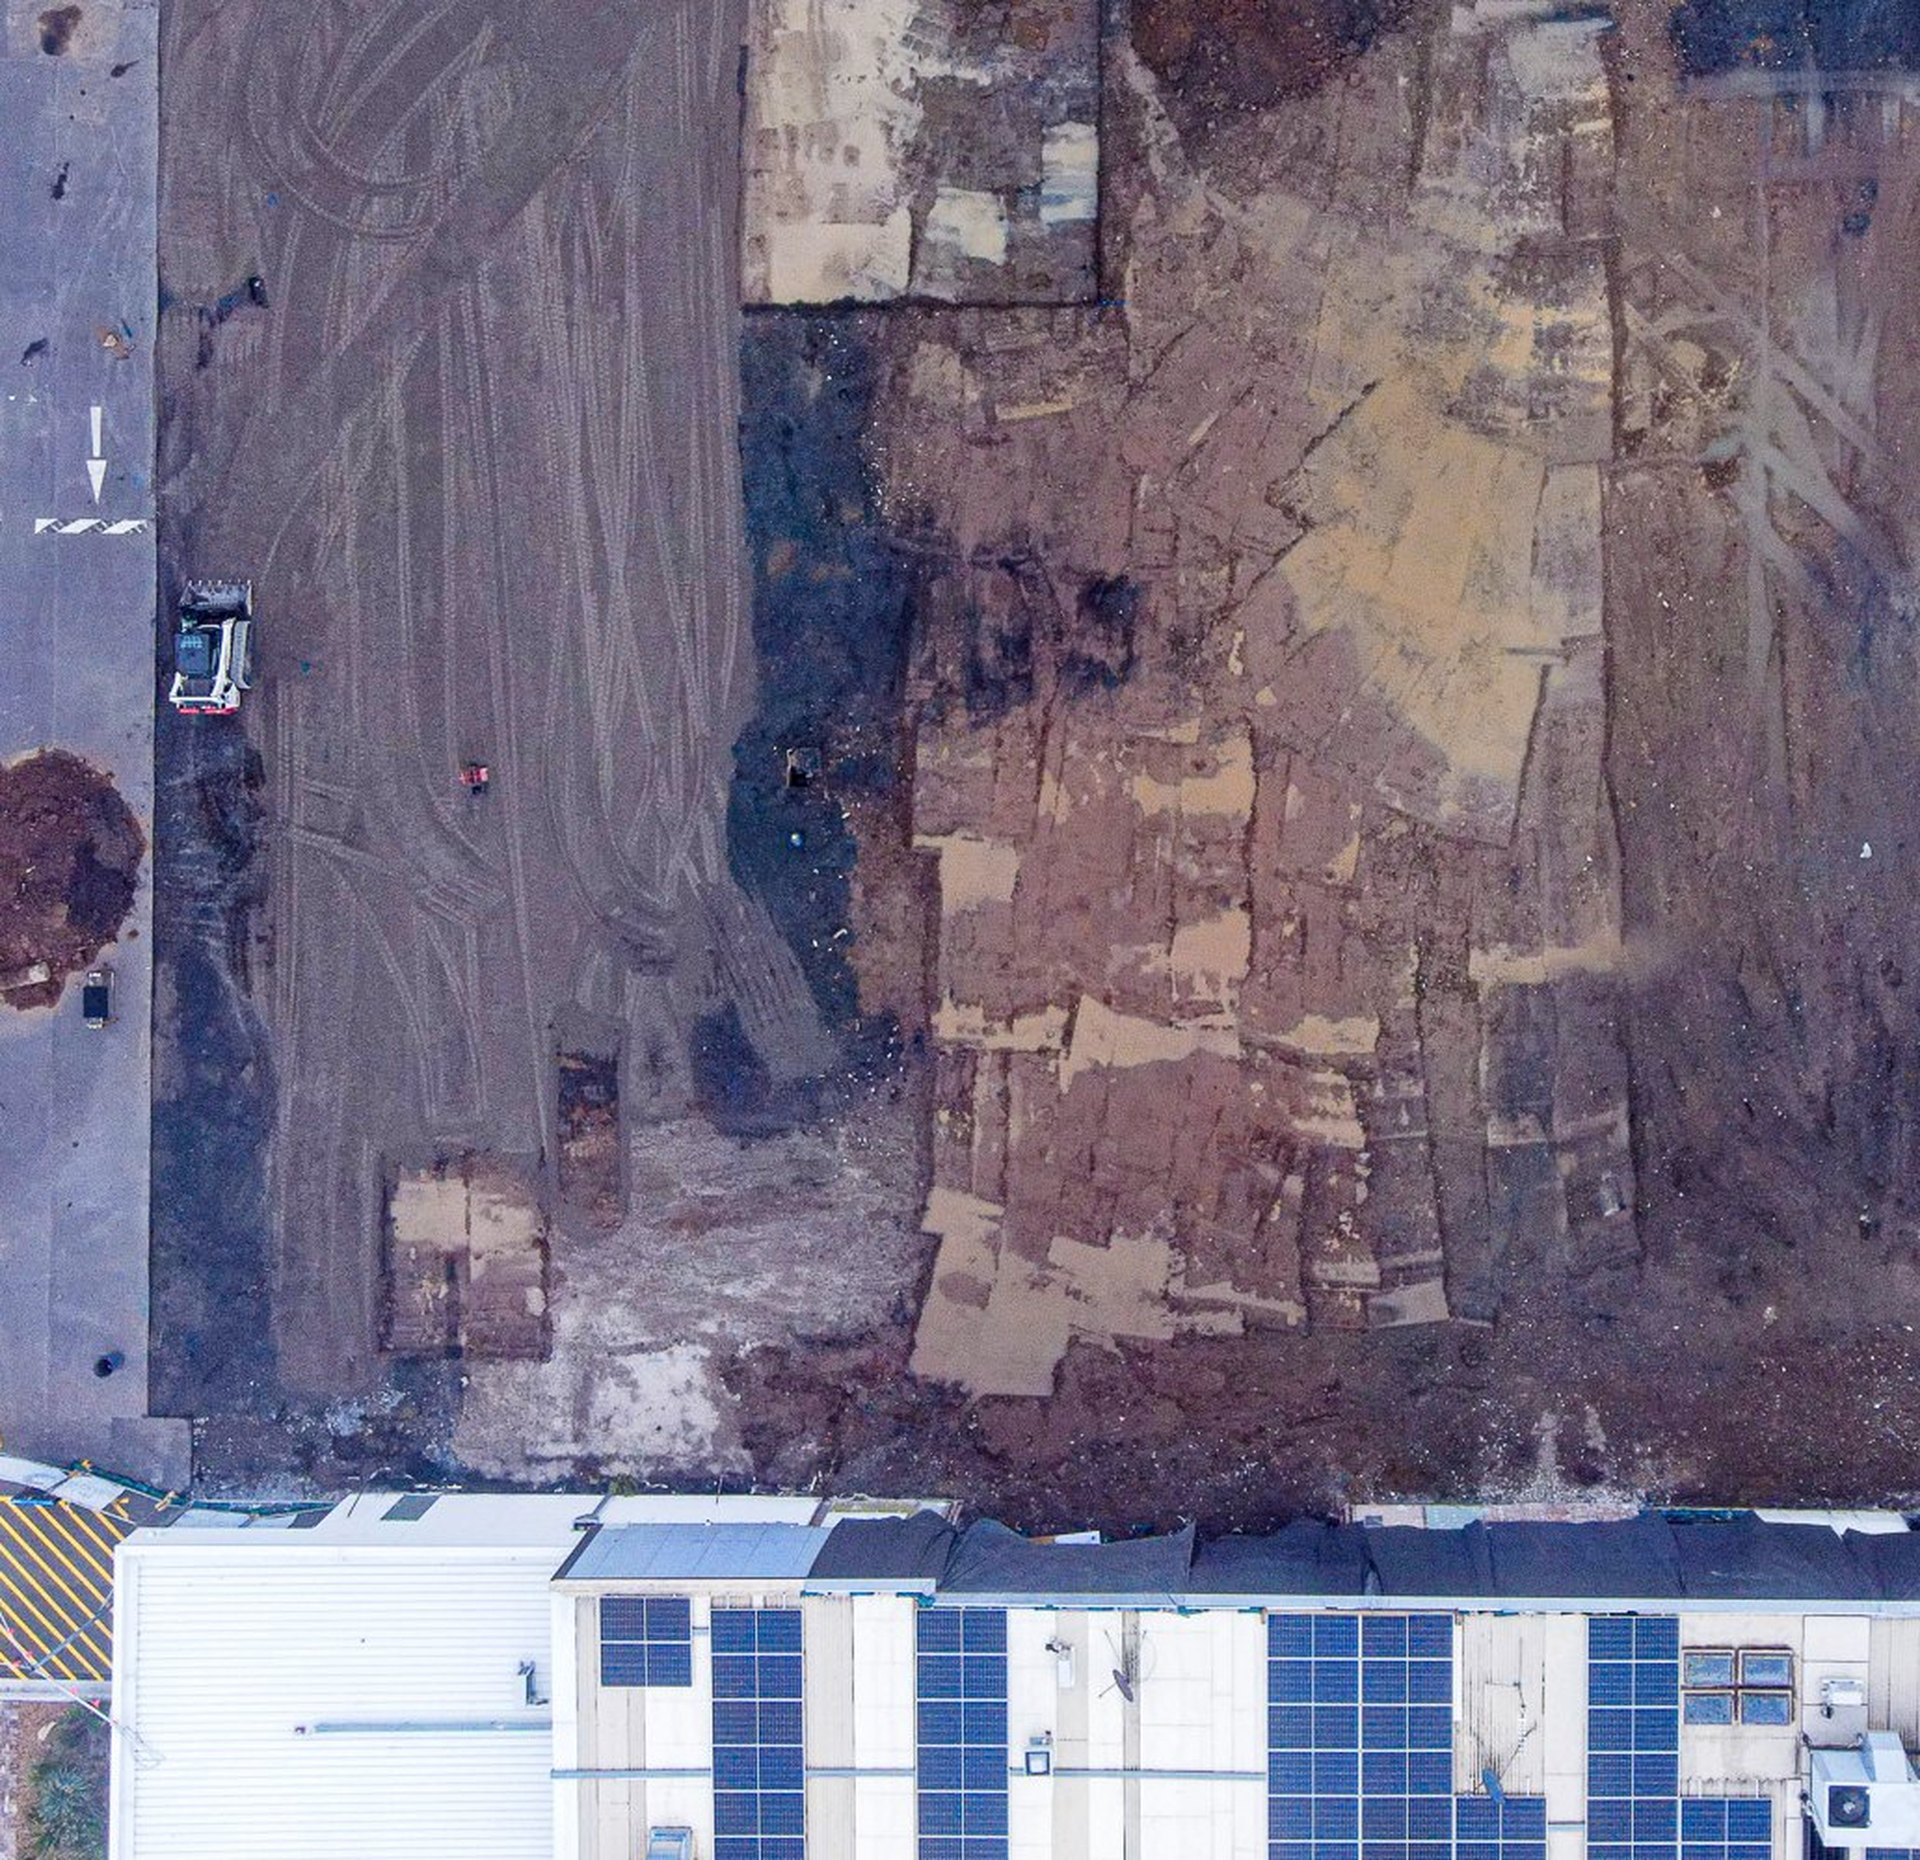
feel genuinely imposing, which is usually the effect worth going for. Combining that with a drone
shot from directly above gives the full picture: one angle for scale, one for footprint.
Timing matters more than most sites plan for
Midday sun flattens a site into a shadowless, textureless block, it's the least flattering light of
the day for anything with structure or depth. Early morning or late afternoon light rakes across the
surface at a lower angle, which brings out texture, depth and a sense of scale that midday light just
can't. If a shoot can be scheduled around this rather than squeezed into whatever hour is convenient,
the difference in the final result is significant.
"The before-and-after only works if it's shot from the exact same position both times."
Include the detail, not just the wide shot
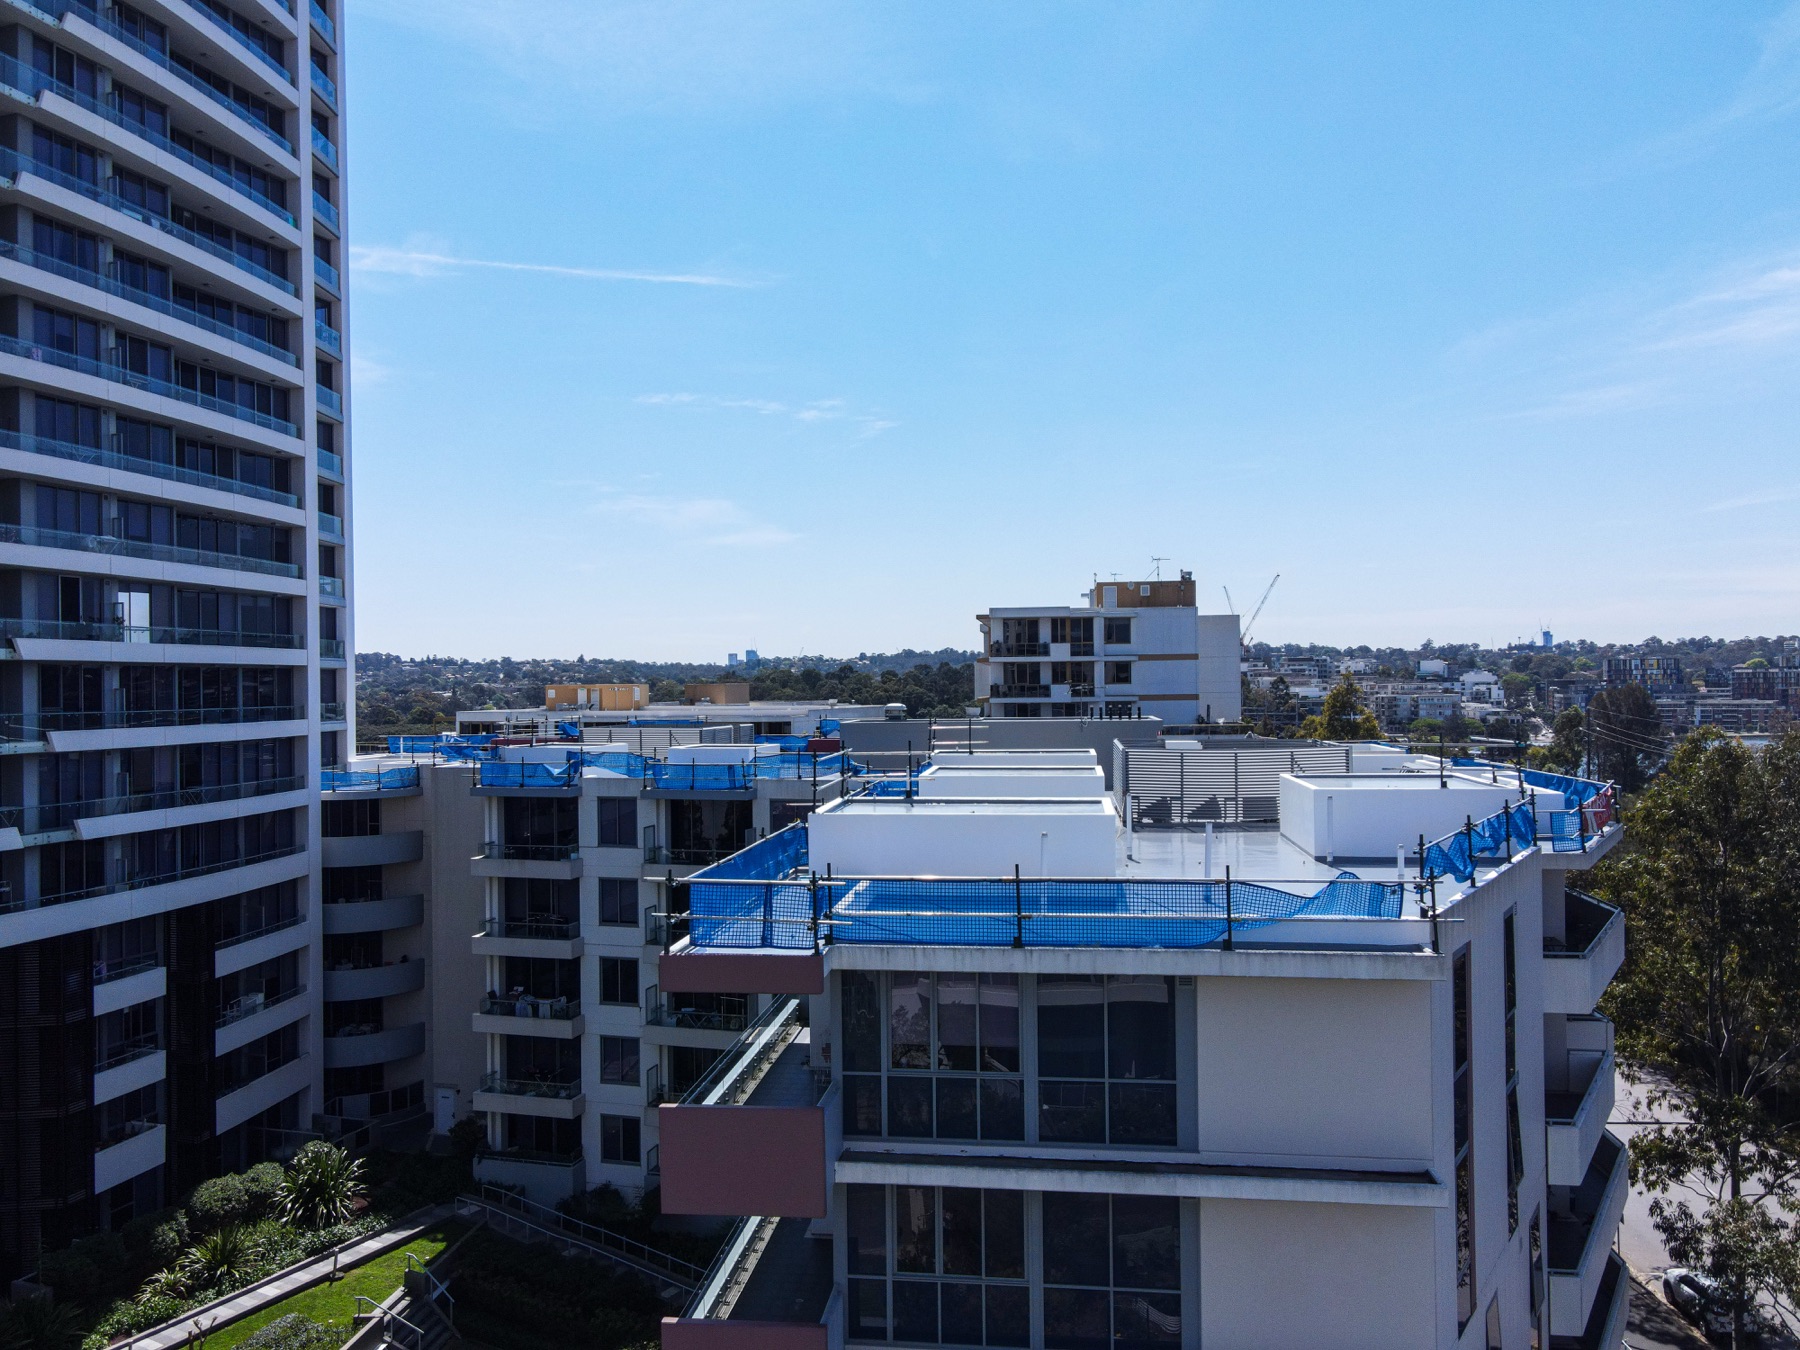
A full set of site photography should include more than the establishing wide shot: safety
signage in place, materials staged, a close-up on a detail that shows the standard of the work.
These are the images that get reused most, in tenders, on a website, in a case study, long after
the finished-job hero shot has been posted once and moved on from.